Baby leg warmers are super easy and quick to make; and the end result is adorable! The "real" versions of these sell for up to $16 a pair, so this is a cheap alternative. They are one-size fits most and the list of benefits of dressing your baby in them include: easier diaper changes (compared to wearing tights), extra knee protection for little crawlers, an added layer of warmth for cold days, or simply a cute accessory! They look great on bigger kids too.
So here you go....
Step 1: Assemble what you need.
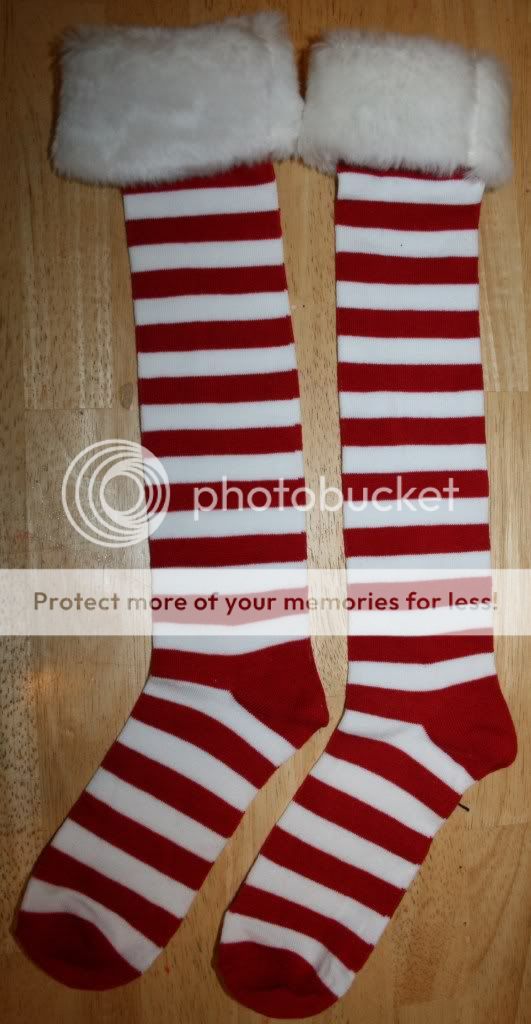
*a pair of women's knee high socks (I bought my Christmas-y little numbers at Target for $5, but $2-$5 is common for a cute pair). If you are making leg warmers for a very young baby, you may want to use big girls knee socks as a smaller alternative.
*sewing machine or serger with thread to match the socks
*scissors
*pins
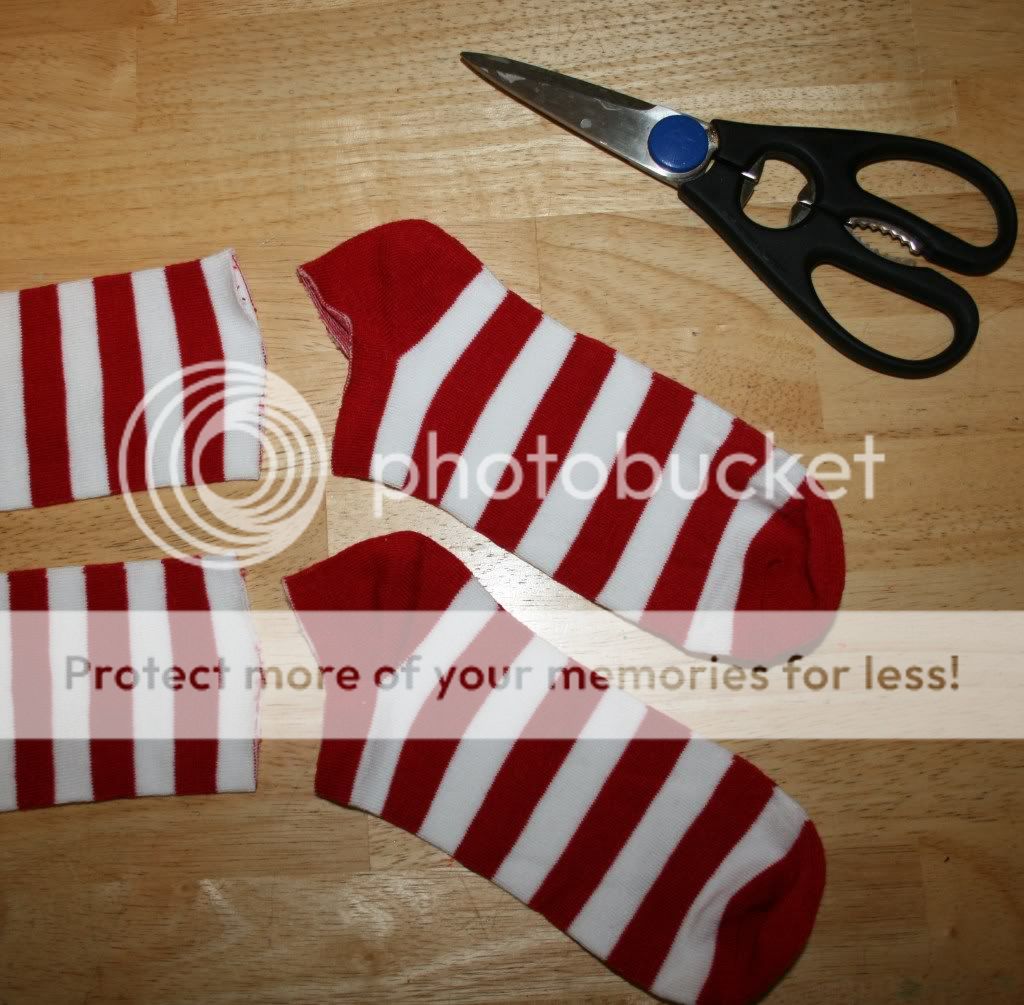
Step 3: Cut the heel and the toe off of the foot leaving a tube in the middle.

Step 4: Cut a thin strip off of the top of the tube.
*it should now be open on 3 sides and still closed on 1 side.


Step 5: Open up what is left and lay it down, right side of the material facing down on the table.
*make sure the pattern goes the same way as on the sock as this will form your cuff.
Step 6: Fold the top down to meet the bottom edge.
*right side of material should touch the table as well as face upwards.

Step 7: Fold the edge from left to right edge.

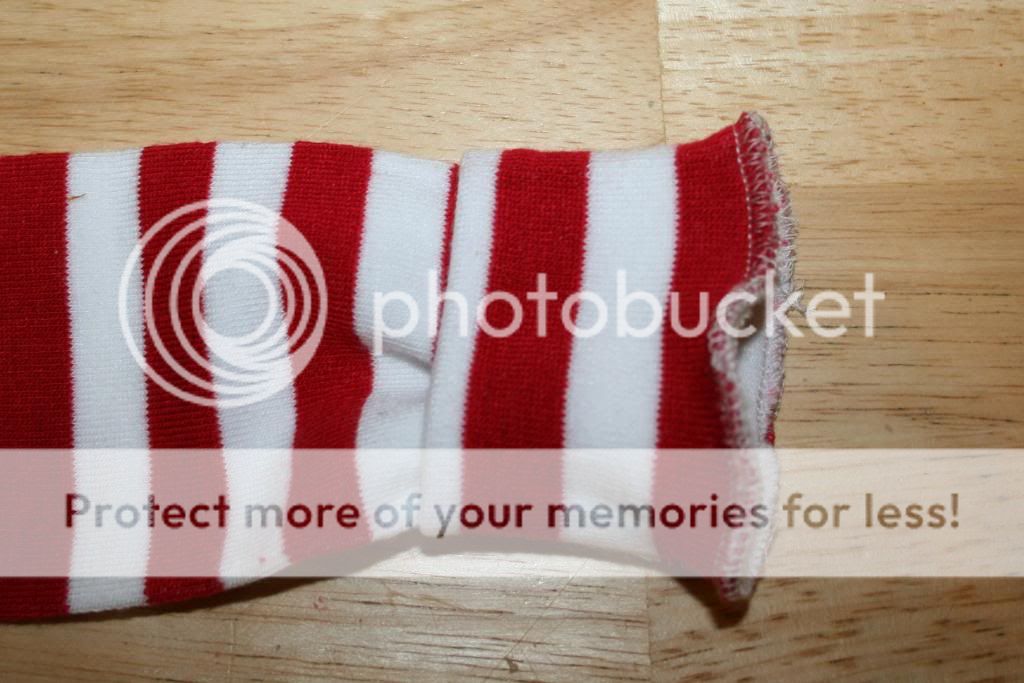
Step 8: Sew or serge along the cut edge.
*you will be incorporating 4 cut edges.


Step 9: Fit the cuff over the outside of the remaining leg making the cut edges even.
*3 cut edges will be lining up, 2 from the cuff and 1 from the leg.

Step 10: Pin the cuff to the leg.
*you will need to pin two opposite sides first, then stretch the middles until they meet up, as the cuff will be tighter than the leg opening. Pin in place.


Step 11: Sew or serge around the edge in a circle.
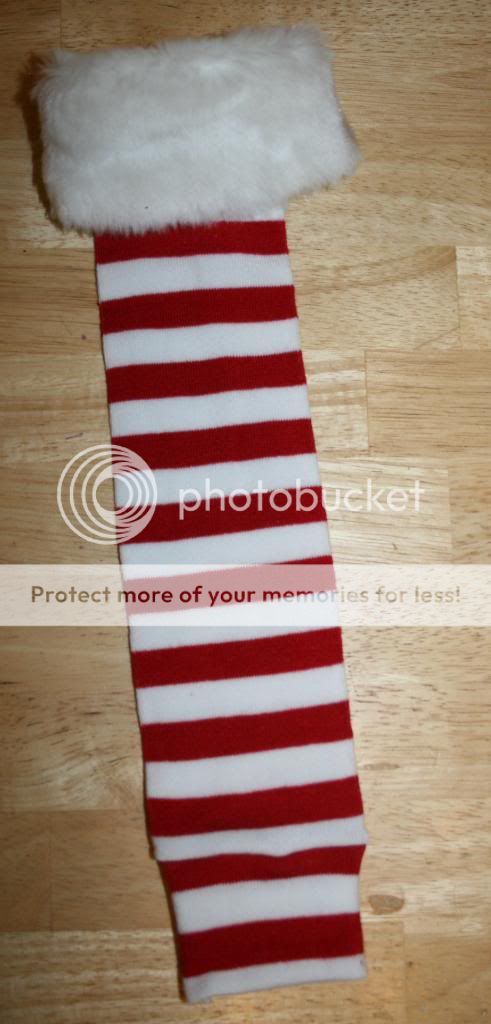
*if you sewed the edge, zig zag stitch around the rough edges to finish off. Turn the cuff right side out and you are done!
The finished product:

Hope you enjoyed my little tutorial, I will find a little model for mine and post pictures tomorrow!
No comments:
Post a Comment
Comments make me happy!!