The lighting is going to be horrible in these as I did it after dark with only overhead lighting. There, you are warned.

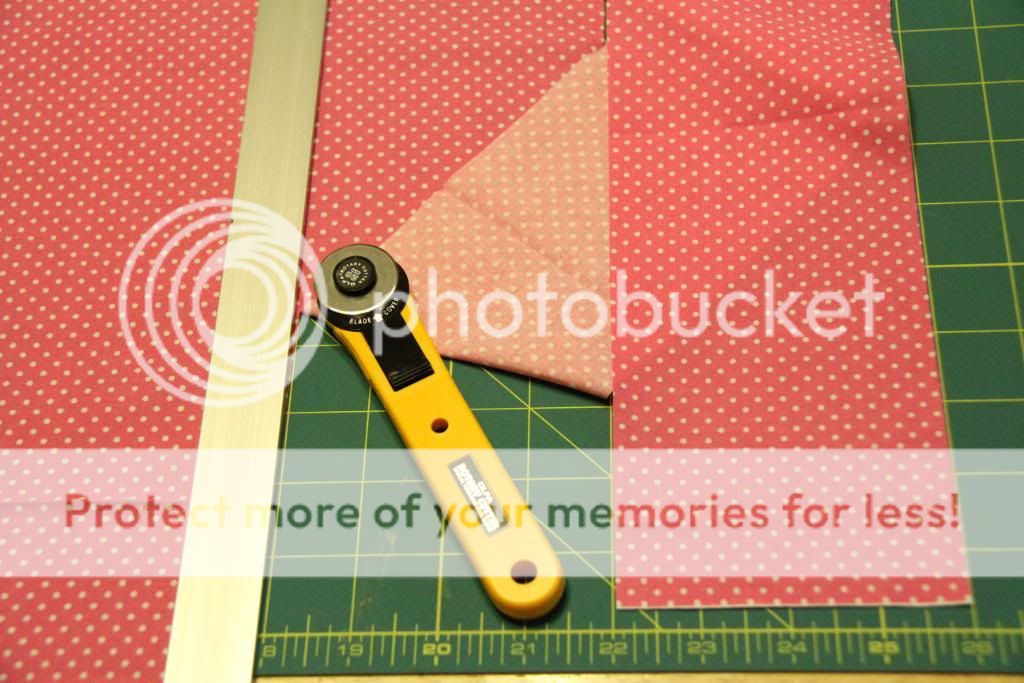
First I prepped what will be my waist tie. I used my rotary cutter since all of the cuts here are straight lines and cut a piece that was 4 inches tall by 44 inches wide. The idea is to make a piece that is something like bias tape.
I folded the piece in half from top to bottom (ending up with a piece that is 2 inches tall by 44 inches wide) and pressed with the iron. This wasn't well thought out since my fabric is almost the same color as my ironing board cover.

Then I opened up the folded piece to show the wrong side of the fabric, and pressed in a 1/2 inch on each side of towards the already pressed fold.

I set the long piece aside and started on the main part of the apron. I cut the main fabric to be 13 inches tall by 18 inches wide.

I made note of the direction of the pattern and figured out which would be my top and bottom. On the three sides that would comprise my sides and bottom of the apron, I folded in 1/4 inch and pressed, then folded that over another 1/4 inch and pressed again. This just makes it easier to sew in a straight line without pinning.

I started to hem around the three pressed sides.

My cat Pearl is my constant shadow and she couldn't resist trying to have a snuggle even though I was sewing.
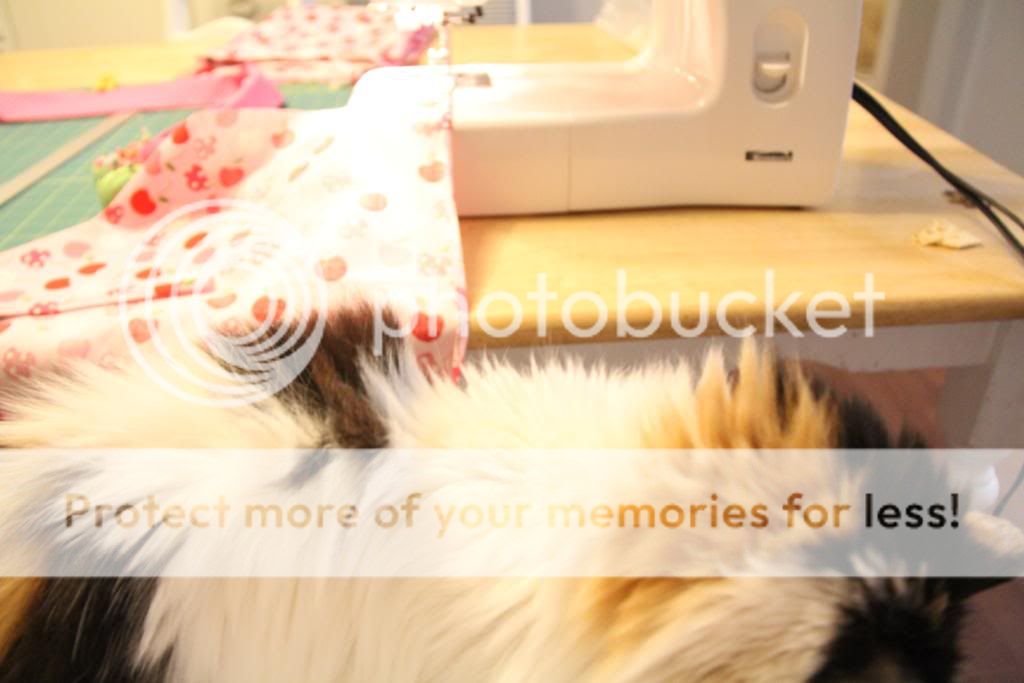
Next I set my machine to do it's widest stitch (a basting stitch). And yes, that is the cat in the background, she got booted off my lap so that I could take pictures.

I did a basting stitch across the top of the apron at about 3/8ths inch. Remember not to back stitch here as you will be pulling the basting stitch to do a gather. Make sure you leave long tails on both ends; then pull on your thread tails to gather to your desired width. I had decided on 12 inches.

Once I had evenly distributed the gathers, I marked the center of each piece with a pin. In the case of the waist tie, it was marked at 22 inches, and on the apron, it was at 6 inches.

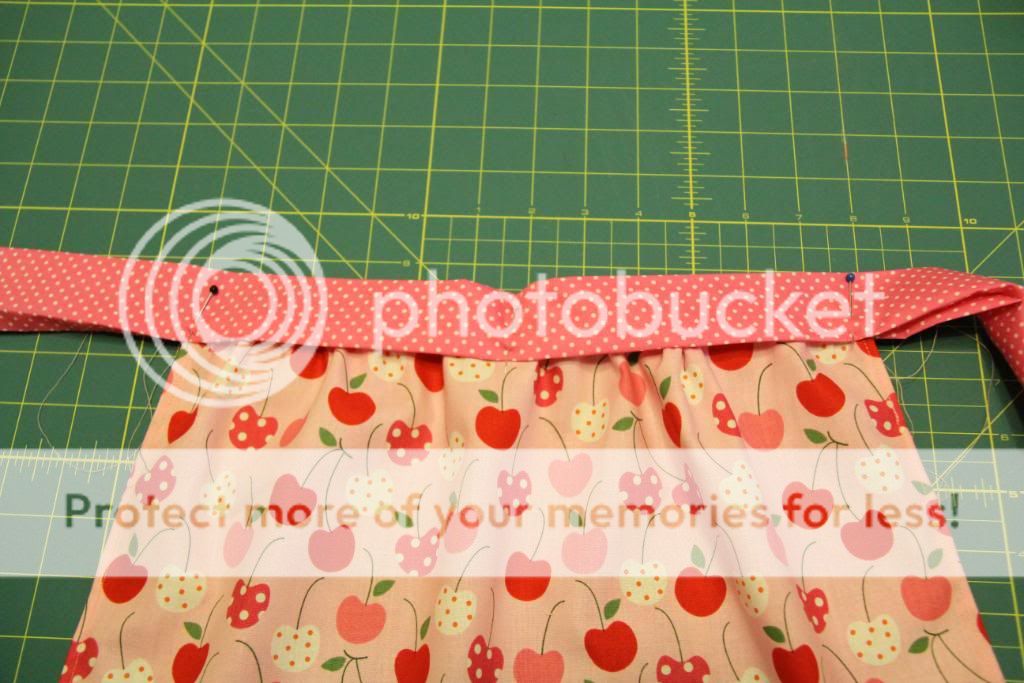
I lined up the pins and tucked the gathered apron in side the "bias tape" I had made at about the 1/2 inch mark so that the basting stitch was covered. I pinned at both ends and at the middle section.
Now I was ready to sew! I folded under the far edges (the 2 inch side) to form a hem, then sewed that under and continued on the long piece.

I sewed all the way across and hemmed the other end and that was it!
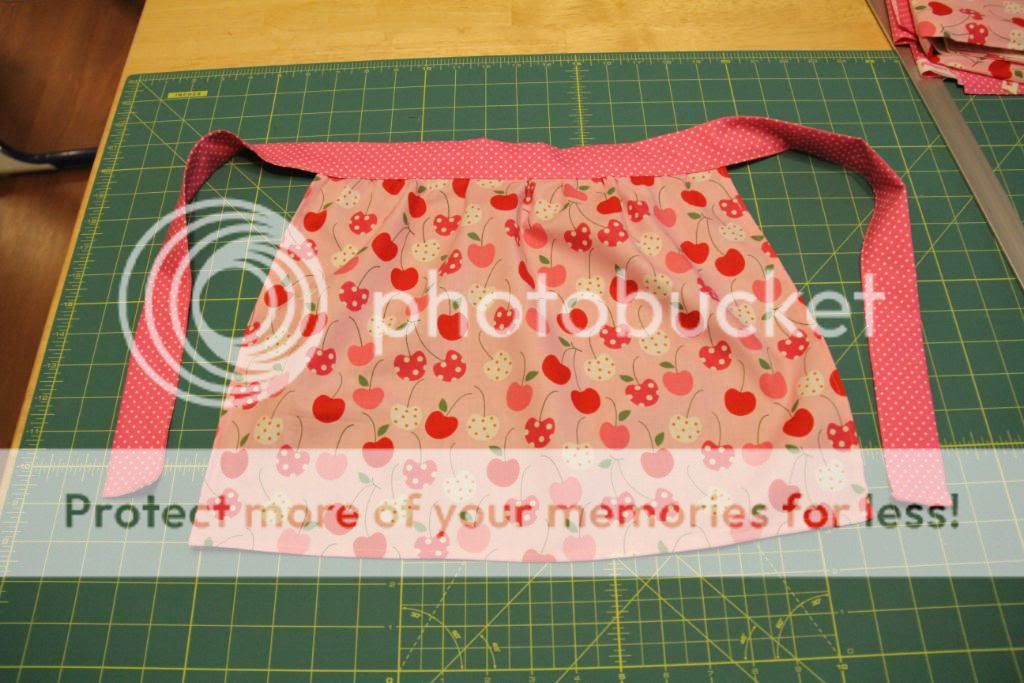
If you are decent with an iron, this project would only take about 1/2 hour to complete.
All my kids were in bed, but I could hear the two big girls chatting so I got them up and made them model it. They were wearing very pattern heavy pajamas though, and so these look terrible!! I may try and replace the modelled pictures tomorrow when they are wearing their clothes.

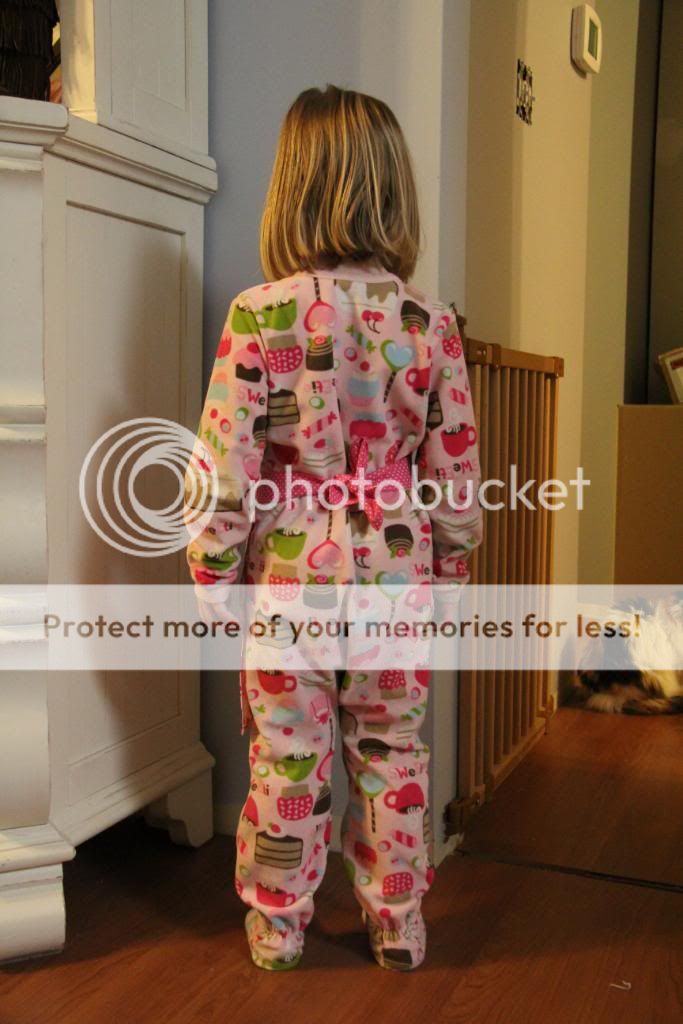


The girls really liked it and Laina asked if I could make another one so they wouldn't fight over it. I liked the length of the waist tie... next time I might gather the skirt a bit more and/ or make the apron a bit shorter.
Let me know if you try it out!
Looks beautiful. I have a question though. Aproximately what size is it. I want to make an apron for my 3. 5 year old niece and since she lives far away I cannot try it on her. Do you think this is the right size for an averge 3 year old?
ReplyDelete